How to Generate a Sound Wave Art
Whether it is a home decoration item or is a gift, it can be hard to find a unique and personal artwork. We all want our decoration to represent who we are as a person. Yet, we end up buying mass production items from big markets that don't have much of a personal connection with us. Creating custom decor is a whole different story — it takes skills and tools most people don't have.
WaveVisual lets you turn any audio into a piece of wall art. Upload a song, a voice recording, anything — and you'll get a sound wave you can style, customize, and print. No design experience needed.
You can try the editor and experiment with your design without signing up. Downloading your finished design requires a purchase — check out our pricing page for the options.
Add your audio
The first thing you'll do is pick a source for your audio. There are four ways to do it:
- Upload a file from your device — any song or recording you have saved.
- Record something on the spot using your microphone.
- Search songs to find a track by name or artist.
- Spotify link — paste a link to any Spotify track and WaveVisual will use it directly.
Once you've added your audio, WaveVisual generates the sound wave right away. The audio itself is only used to create the visualization and isn't stored on our servers.
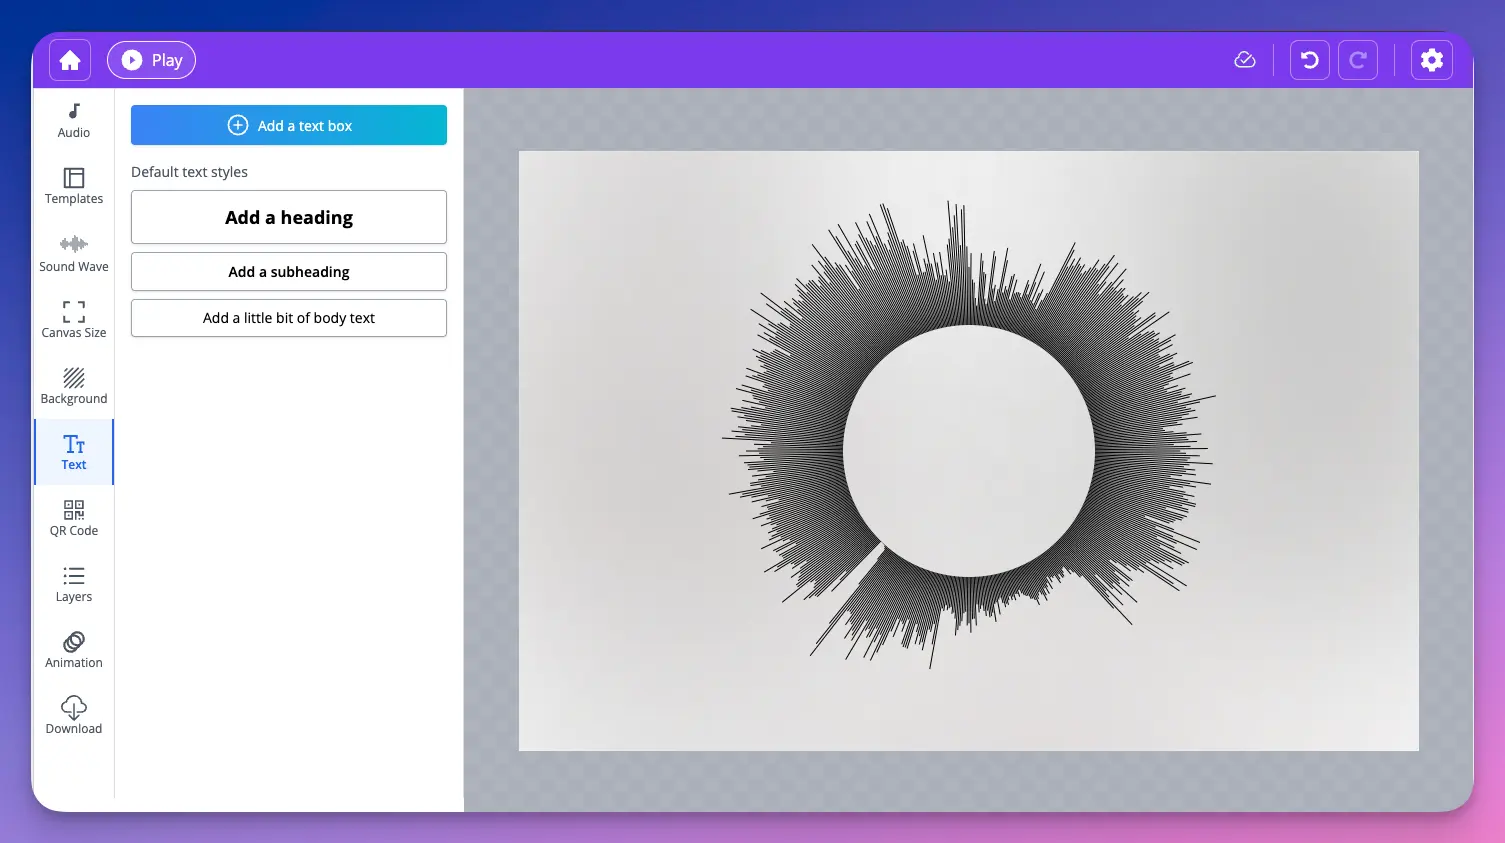
Style your sound wave
The Sound Wave tab is where most of the visual work happens. The first thing to decide is the shape: Standard gives you the classic horizontal bar visualization, while Circle arranges the bars in a ring. They work quite differently, so it's worth trying both.
After choosing a style, you'll see a color picker where you can set the wave colors. Add up to 5 colors and they'll blend into a gradient across the waveform.
Below the colors, there are a few sliders to fine-tune the look:
- Thickness — how wide each bar is.
- Space — the gap between bars.
- Height (Standard only) — how tall the bars are. Drag it all the way down and the wave flattens out in a way that can look surprisingly good.
- Bar length and Circle radius (Circle only) — control the bar size and how large the ring is.
Each slider has a reset button next to it if you want to go back to the default.
Text
The Text tab lets you add text to your design — a song title, a date, a short message, whatever fits. There are presets to start from (heading, subheading, body text), or you can add a blank text layer and style it from scratch. Per text layer you can change the font family, font size, and color.
Background
Under Background, you can set the canvas background to a solid color, a gradient of up to 5 colors, or an image you upload. If you want a transparent background, there's a shortcut to clear the colors entirely.
There's also a set of built-in wallpapers — gradient images you can apply with one click if you want something that looks good without much effort.
Downloading
When you're happy with the design, head to the Download tab. Pick a file format, set the resolution if needed, and hit export.
The supported formats are:
- PDF — vector-based, so it scales to any print size without losing quality. The best choice for most print orders.
- PNG — good for transparent backgrounds or when you need a high-quality raster image. Files are larger than JPG.
- JPG — smaller file size, slight quality loss. Fine for digital use, not ideal for printing.
- SVG — fully scalable vector format. Useful if you want to take the design somewhere else and keep editing it in a tool like Illustrator or Figma.
- MP4 — animated videos where the waveform reacts to the audio. Great for music and podcast content on social media, reels, or audiograms. Exports at 1080p and can include the original audio.
For PNG and JPG you can also choose the export resolution — from a small preview size up to a large print-ready file.
Let's start designing
That's everything you need to know. Head over to wavevisual.com/editor, add your audio, and play around with it — no signup required. When you're ready to download, take a look at our pricing to pick the right option for you.
More from WaveVisual: the sound wave generator, music visualizer, and pricing.