New Feature: Sound Wave Trimming for Personalized Art
Maybe you want the chorus of a song, not the whole track. Or a 30-second clip from a 10-minute recording—your vows, a baby’s first laugh, one line from a voicemail. Before trimming, you had to upload the exact segment you wanted or work with the full audio. Now you can select any portion of your audio and turn just that part into your design.
How the Trim Tool Works
- Upload your audio — Add your file, Spotify song, or recording in the Audio tab.
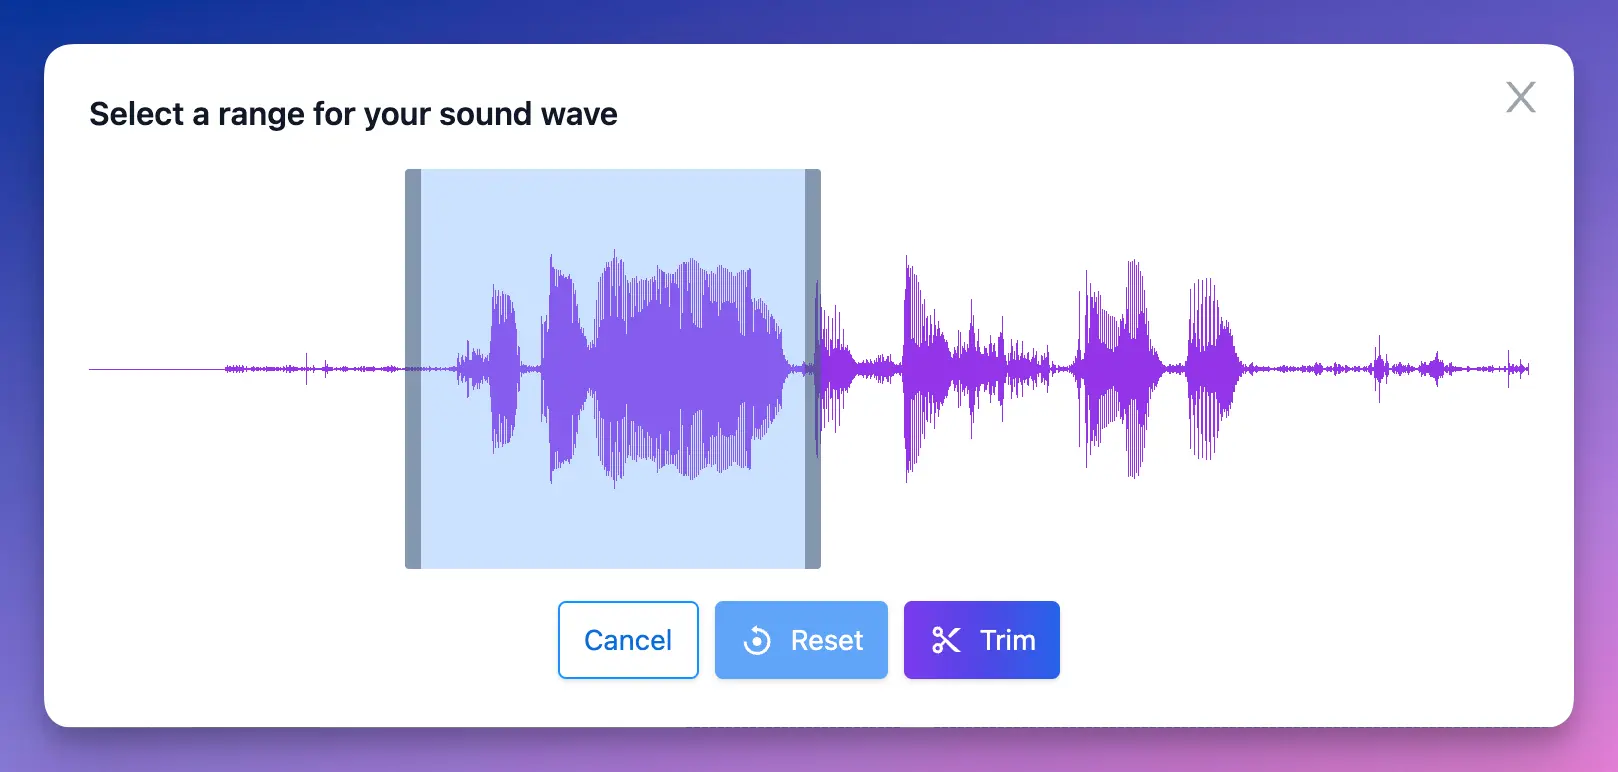
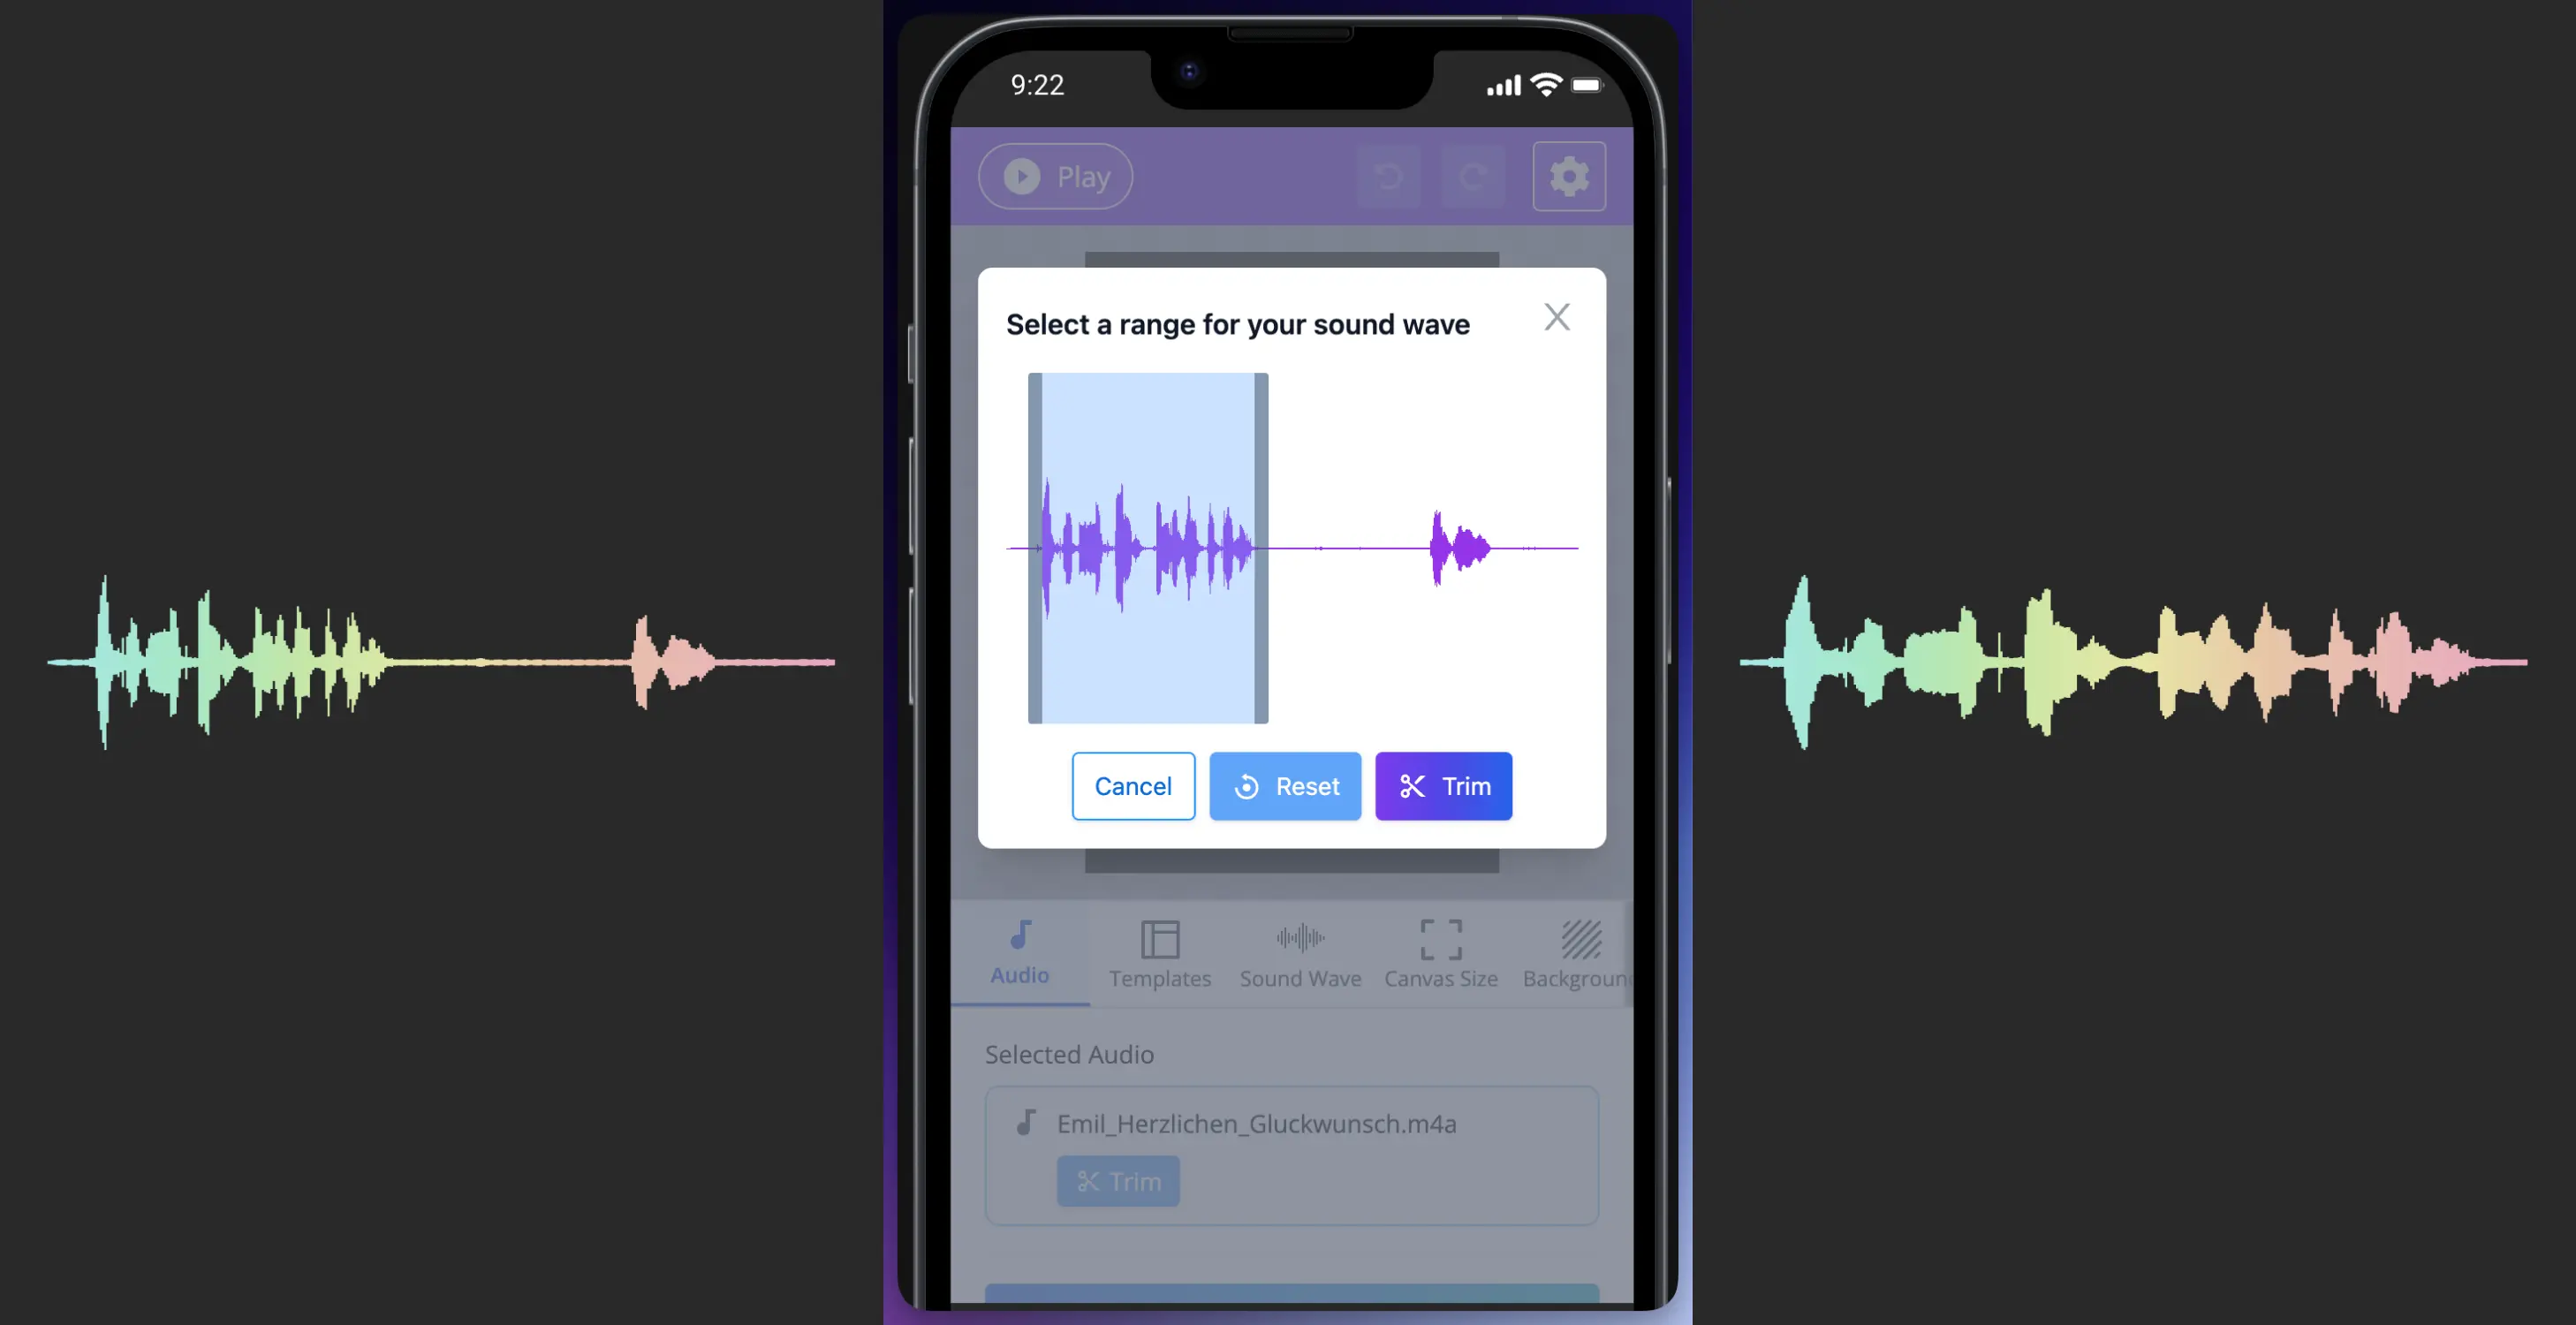
- Open Trim Audio — Click "Trim Audio" to see the waveform with adjustable start and end markers.
- Set your range — Drag the markers to select the segment you want. Use playback to hear exactly what you’re selecting.
- Design — The waveform updates to your trimmed segment. Style it, add text, and export as usual.
The trim tool works with uploaded files and Spotify songs. Your trimmed selection applies to all export formats—PNG, JPG, PDF, SVG, and MP4.
Below is how the process looks before, during and after.
When Trimming Helps
- Wedding gifts — Use just the vows, first dance, or toast instead of the full recording.
- Music designs — Isolate the chorus, intro, or a favorite verse.
- Voice messages — Turn one meaningful phrase into art instead of the whole clip.
- Video export — Trim long audio to a shorter segment for faster renders and smaller files (video export is limited to 22 minutes).
Tip: Trim first, then style. The waveform changes as you move the markers, so you can hear and refine your selection before designing.
Try the trim tool in the editor →
More from WaveVisual: the sound wave generator, music visualizer, and pricing.